Welcome to Center Construction Roofing’s comprehensive guide on roof vent installation, a crucial aspect of ensuring optimal ventilation in your Schenectady, NY, home. Proper ventilation plays a vital role in maintaining a healthy and comfortable living environment. In this blog post, we’ll delve into the importance of roof vent installation, the different types of roof vents available, and the step-by-step process involved in installing them. Whether you’re looking to improve indoor air quality, prevent moisture damage, or enhance energy efficiency, this guide has you covered.

The Importance of Roof Ventilation
Roof Ventilation installation is a key component of home ventilation systems. Adequate ventilation offers several benefits, including:
1. Moisture Control: Effective roof ventilation helps prevent the buildup of moisture in your attic. Excess moisture can lead to mold growth, wood rot, and other structural issues.
2. Energy Efficiency: Proper ventilation can contribute to energy efficiency by regulating attic temperatures. This, in turn, reduces the strain on your HVAC system, resulting in lower energy bills.
3. Improved Indoor Air Quality: Ventilation allows for the exchange of stale indoor air with fresh outdoor air, promoting a healthier living environment for you and your family.
4. Extended Roof Lifespan: By preventing the accumulation of heat and moisture, roof vents can contribute to the longevity of your roofing materials, ultimately saving you money on repairs and replacements.
Types of Roof Vents
There are various types of roof vents available, each serving a specific purpose. Understanding the options will help you make an informed decision based on your home’s needs. Some common types include:
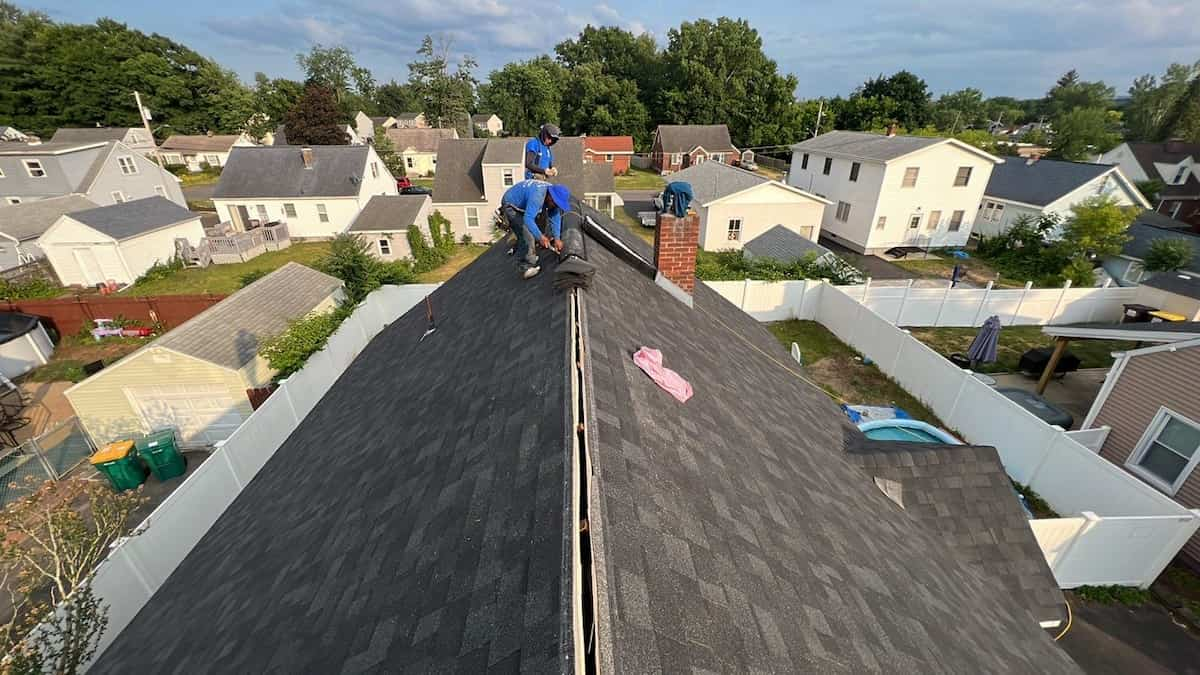
1. Ridge Vents: Installed along the peak of the roof, ridge vents provide continuous ventilation along the entire roofline.
2. Soffit Vents: These are located under the eaves of the roof and allow fresh air to enter the attic space.
3. Static Vents: Also known as roof louvers, static vents are stationary and facilitate the release of hot air from the attic.
4. Solar-Powered Vents: These vents use solar energy to power fans that enhance airflow, making them an eco-friendly option.
Step-by-Step Guide to Roof Vent Installation
Now that we understand the importance of roof ventilation and the different types of vents available let’s walk through the step-by-step process of roof Ventilation installation:
1. Assessment: Begin by assessing your attic space and determining the type and number of vents needed. Factors such as the size of your home, roof pitch, and local climate conditions should influence your decision.
2. Selecting Vent Types: Choose the appropriate vent types based on your assessment. For optimal results, consider a combination of ridge vents, soffit vents, and static vents to create a balanced airflow.
3. Gathering Materials: Ensure you have all the necessary materials, including vents, roofing nails, a saw, and a drill. It’s essential to use high-quality materials to guarantee the longevity and effectiveness of your ventilation system.
4. Locating Installation Points: Identify the ideal locations for vent installation. Ridge vents should be installed along the peak, while soffit vents should be evenly distributed along the eaves.
5. Cutting Openings: Use a saw to cut openings for ridge vents and soffit vents. Precision is crucial to ensure a proper fit and optimal functionality.
6. Installing Vents: Secure the vents in place using roofing nails. Follow the manufacturer’s guidelines for installation to guarantee a watertight seal and prevent potential leaks.
7. Sealing Gaps: Seal any gaps or openings around the vents with appropriate sealant to prevent water infiltration.
8. Inspecting the System: Once the vents are installed, perform a thorough inspection to ensure everything is properly sealed and functional.
Investing in roof vent installation is a wise decision for homeowners in Schenectady, NY, who are looking to enhance their home’s ventilation system. Center Construction Roofing is here to guide you through the process, offering expertise and quality service to ensure your home remains comfortable, energy-efficient, and structurally sound. Don’t overlook the importance of proper ventilation; contact us today for a consultation and take the first step toward a healthier home environment.
Whether you’re considering roof ventilation installation for a new construction or upgrading an existing system, our team is ready to assist you in Schenectady, NY, and the surrounding areas. Trust Center Construction Roofing for all your roofing needs, and let us help you create a safer and more comfortable living space for you and your family.

