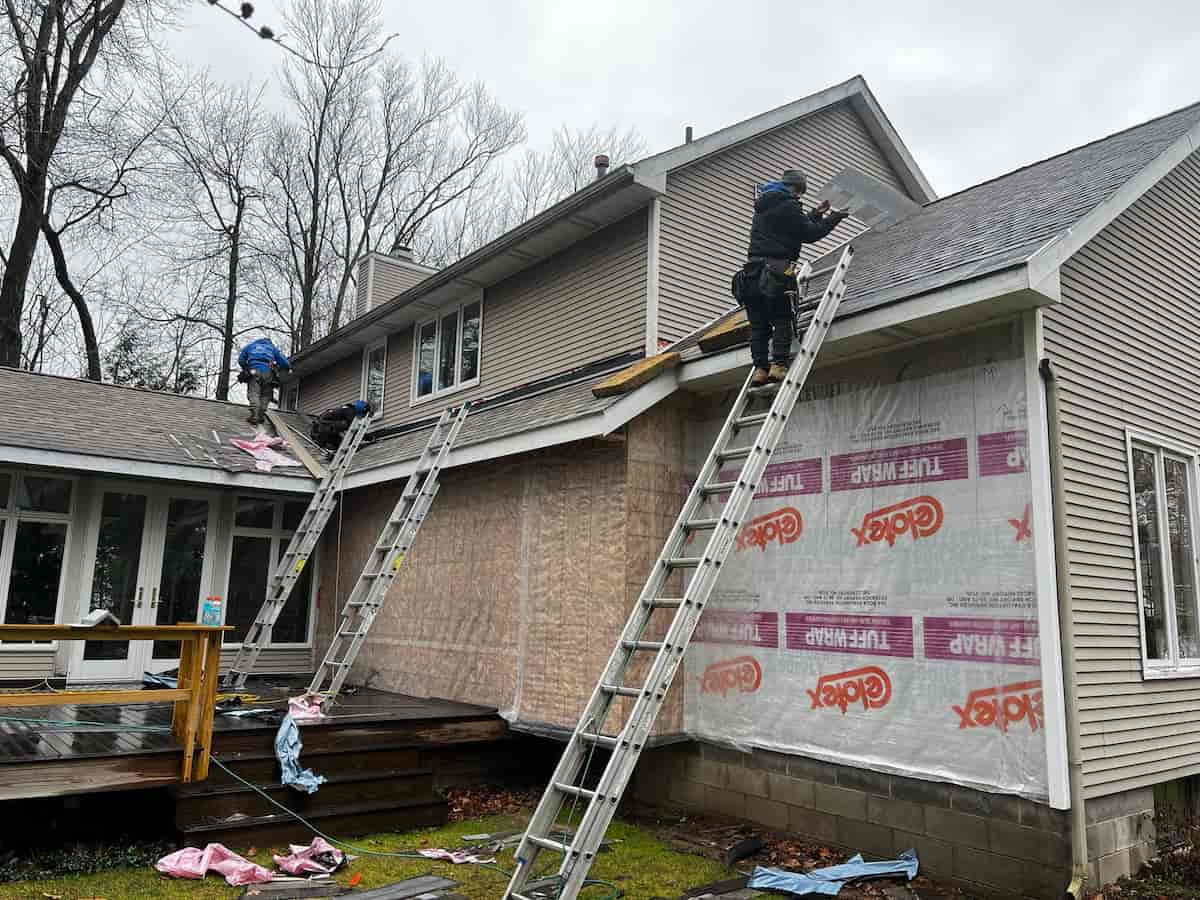
Installing James Hardie fiber cement siding can transform your home’s exterior while providing decades of durability and weather resistance. This comprehensive guide will walk you through the complete process of how to install James Hardie fiber cement siding, from preparation to finishing touches, ensuring you achieve professional-quality results.
Whether you’re a DIY enthusiast or considering professional installation, understanding the installation process helps you make informed decisions about your siding project. For homeowners in Albany, NY, and surrounding areas, Center Construction LLC offers expert siding installation services, combining years of experience with quality craftsmanship. Their team specializes in James Hardie siding installations, roofing, and gutter services, providing comprehensive exterior solutions.
Essential Tools and Materials for James Hardie Installation
| Required Tools | Purpose/Notes |
|---|---|
| Circular saw with fiber cement blade | Clean cuts without chipping |
| Pneumatic siding nailer or hammer | Consistent nail depth and speed |
| 4-foot and 2-foot levels | Ensure straight, level installation |
| Chalk line and marking tools | Mark straight reference lines |
| 25-foot measuring tape | Accurate measurements and spacing |
| Safety equipment (glasses, mask, gloves) | Protect from dust and debris |
| Extension ladder or scaffolding | Safe access to work areas |
| Pneumatic caulk gun | Professional sealing application |
| Materials Needed | Specifications |
|---|---|
| James Hardie siding planks | ColorPlus or primed options |
| Starter strip and finish trim | Matching siding profile |
| Corner boards (inside/outside) | Pre-finished or paintable |
| Window and door trim | J-channel or trim boards |
| Galvanized siding nails | 6d or 8d, hot-dipped |
| House wrap | Tyvek or equivalent barrier |
| Flashing tape | Self-adhesive for openings |
| Exterior caulk | Polyurethane, paintable |
The quality of your tools directly impacts the installation success. James Hardie siding requires specific cutting techniques and proper fastening to maintain warranty coverage and ensure longevity.
Pre-Installation Preparation Steps
Site Preparation
Begin by removing existing siding, shutters, and exterior fixtures. Inspect the underlying sheathing for damage, rot, or structural issues. Replace any compromised materials before proceeding with the new siding installation.
Weather Barrier Installation
Apply house wrap or building paper horizontally, starting from the bottom and overlapping each row by 6 inches. Secure with staples every 12-16 inches along studs. This moisture barrier is crucial for preventing water infiltration behind your James Hardie siding.
Window and Door Preparation
Install proper flashing around all openings. Apply self-adhesive flashing tape along the bottom edge of window and door frames, extending at least 6 inches beyond each side. This step prevents water damage and ensures a weathertight installation.
For professional siding installation services that guarantee proper preparation and weatherproofing, consider consulting with experienced contractors who understand local building codes and climate considerations.
Expert Tip: Acclimation Period
Allow James Hardie planks to acclimate to local conditions by storing them flat in the installation area for 24-48 hours before installation. This prevents expansion or contraction issues that could affect the final appearance and performance.
Step-by-Step Installation Process
Step 1: Install Starter Strip
Position the starter strip level along the bottom of the wall, typically 8 inches above ground level. Use a chalk line to ensure straightness across the entire wall length. Secure with galvanized nails every 16 inches into wall studs.
Step 2: First Course Installation
Place the first siding plank on the starter strip, ensuring proper overlap and alignment. James Hardie planks should overlap by 1¼ inches horizontally. Maintain a 1/8-inch gap at corner trim and window/door trim for expansion.
Step 3: Cutting and Fitting
When cutting James Hardie siding, use a carbide-tipped blade and cut from the back side to minimize chipping. Score the face side lightly before making the full cut. Always wear appropriate safety equipment when cutting fiber cement materials.
Step 4: Fastening Technique
Drive nails through the nailing zone located at the top of each plank. Avoid face-nailing, which can cause cracking. Nails should penetrate framing by at least 1¼ inches. Don’t overdrive nails, as this can damage the siding surface.
Understanding proper installation techniques is essential for warranty compliance. For comprehensive guidance on James Hardie siding specifications, consult manufacturer guidelines and local building professionals.
Step 5: Window and Door Trim Installation
Install J-channel around windows and doors before siding installation. Cut siding planks to fit snugly against trim pieces, maintaining the required expansion gaps. Apply exterior-grade caulk where siding meets trim for weather sealing.
Step 6: Corner Treatment
Install corner trim before siding installation for inside and outside corners. Alternatively, use corner boards for a traditional appearance. Ensure corners are plumb and properly flashed to prevent water infiltration.
| Installation Aspect | DIY Installation | Professional Installation |
|---|---|---|
| Time Required | 2-4 weeks (weekends) | 3-7 days |
| Warranty Coverage | Material only | Material + Labor |
| Tool Investment | At Actual | Included |
| Code Compliance | Self-verified | Guaranteed |
Common Installation Challenges and Solutions
Dealing with Uneven Walls
Use shims and furring strips to create a level surface for siding installation. Check wall flatness with a long straightedge before beginning installation. Address any significant irregularities to ensure proper siding alignment.
Managing Electrical and Plumbing Penetrations
Cut precise openings for outlets, fixtures, and penetrations using a carbide-tipped hole saw. Seal around all penetrations with appropriate caulking or weatherproofing materials to maintain the weather barrier integrity.
Handling Complex Architectural Features
Bay windows, dormers, and other architectural elements require careful measuring and cutting. Consider creating templates for complex shapes and always test-fit pieces before final installation.
Professional contractors experienced in siding repair can address installation challenges efficiently, ensuring proper fit and finish around complex architectural features.
Quality Control and Inspection Tips
Visual Inspection Guidelines
Check alignment and spacing regularly during installation. Use a chalk line to verify straight lines and consistent reveal. Inspect nail placement to ensure proper fastening without overdriving.
Weather Sealing Verification
Verify caulk application at all joints, corners, and penetrations. Check flashing installation around windows, doors, and other openings. Proper sealing prevents moisture intrusion and extends siding life.
Final Walkthrough Checklist
• All joints properly caulked • Consistent plank spacing and alignment • Proper nail placement and depth • Clean installation with no damaged planks • Complete flashing and trim installation
For comprehensive siding services including quality assurance and warranty protection, professional installation ensures long-term performance and satisfaction.
! Installation Best Practices
Temperature Considerations: Install James Hardie siding when temperatures are between 40°F and 100°F for optimal performance and warranty compliance.
Moisture Management: Never install siding on wet surfaces or during precipitation. Ensure adequate drying time after pressure washing or rain.
Expansion Gaps: Maintain proper expansion gaps at all trim interfaces to allow for natural movement without buckling or cracking.
Maintenance and Long-term Care
Regular Inspection Schedule
Inspect your James Hardie siding annually for signs of damage, loose caulking, or paint deterioration. Early detection of issues prevents costly repairs and maintains warranty coverage.
Cleaning and Maintenance
Clean siding annually with mild detergent and water. Avoid pressure washing at close range, which can damage the surface or force water behind the siding. Touch up paint as needed to maintain appearance and protection.
Repair and Replacement
Address damage promptly by replacing damaged planks and resealing penetrations. Professional assessment helps determine whether repair or replacement is most cost-effective for your specific situation.
Frequently Asked Questions
Q: How long does it take to install James Hardie fiber cement siding on an average home?
A: Professional installation typically takes 3-7 days for an average home, while DIY installation can take 2-4 weeks working on weekends. The timeline depends on home size, architectural complexity, and weather conditions.
Q: Can I install James Hardie siding over existing siding?
A: While possible in some cases, removing existing siding is recommended for best results. Installing over existing siding can trap moisture, create uneven surfaces, and void warranty coverage. Professional evaluation is recommended.
Q: What tools are absolutely essential for James Hardie installation?
A: Essential tools include a circular saw with carbide-tipped blade, pneumatic nail gun, 4-foot level, chalk line, and proper safety equipment. Quality tools ensure clean cuts and professional results.
Q: How do I maintain warranty coverage during installation?
A: Follow manufacturer installation guidelines exactly, use approved fasteners and techniques, and document the installation process. Professional installation typically provides the most comprehensive warranty protection.
Conclusion
Learning how to install James Hardie fiber cement siding requires careful attention to detail, proper tools, and adherence to manufacturer specifications. While DIY installation is possible for experienced homeowners, the complexity of proper installation often justifies professional expertise.
The investment in quality installation pays dividends through decades of low-maintenance, weather-resistant performance. Whether you choose DIY or professional installation, understanding the process helps ensure the best possible outcome for your siding project.
For homeowners seeking professional expertise in James Hardie siding installation, contact Center Construction LLC for a comprehensive evaluation and free estimate. Their experienced team ensures proper installation techniques that maximize your investment and maintain warranty coverage.
Ready to Transform Your Home?
Get professional James Hardie siding installation from Albany’s trusted contractors. Quality workmanship, warranty protection, and exceptional service guaranteed.
📞 Call (518) 520-4511
Serving Albany, NY and surrounding areas


